On this page
Shopify blog post image size affects whether a cover looks sharp, crops cleanly, and fits the rest of your archive. The useful starting point is the shape and width of the space your theme gives it, rather than the largest file your image tool can export.
A product photo can look excellent in the article and lose its important detail in a cropped blog card. This guide separates pixel dimensions, aspect ratio, and file weight, then walks through an export and preview process you can repeat for the next post.
Choose a Shopify blog post image size for the display area
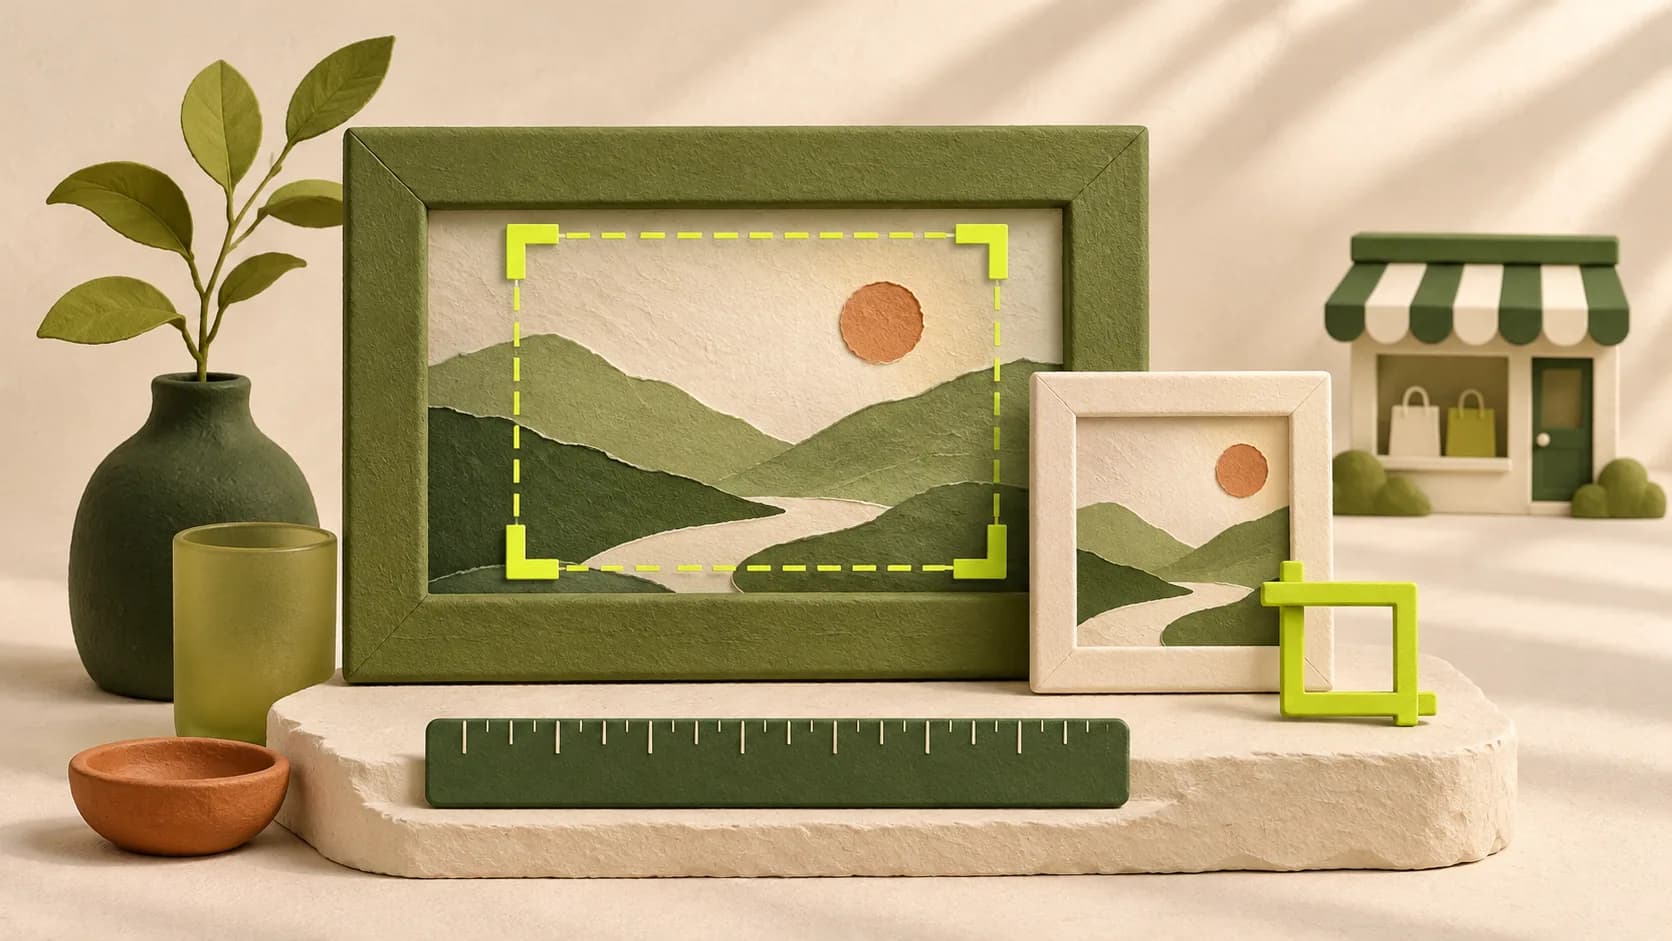
Shopify’s website image size guide gives 1200 × 800 pixels, a 3:2 ratio, as a general blog-header recommendation. That is useful guidance rather than a promise that every theme uses the same crop. Inspect the article header and the archive cards in your own storefront before deciding on a production preset.
| Image shape | Illustrative export | When to investigate it |
|---|---|---|
| Landscape, 3:2 | 1200 × 800 px | A header or card that uses a moderately wide frame |
| Wide, 16:9 | 1600 × 900 px | A theme with a wider cover treatment |
| Square, 1:1 | 1200 × 1200 px | A square card or an inline image that needs that shape |
These are example exports, not three Shopify requirements. If a picture will display 800 pixels wide, an export 1600 pixels wide provides twice as many source pixels across that dimension. Whether that extra detail is worth the transfer size depends on the image and the theme’s responsive delivery. Preview the result instead of assuming more pixels always improve it.
Keep dimensions, ratio, and file weight separate
- Pixel dimensions describe the source image: for example, 1600 pixels wide by 900 pixels high.
- Aspect ratio describes its shape: 1600 × 900 and 800 × 450 are both 16:9.
- File weight describes the download size. Two images with the same dimensions can have very different byte sizes.
A fictional homeware store might use a large photograph of a planter. Increasing its dimensions will not fix a crop that cuts off the planter’s rim. First compose the subject for the intended frame, then export enough detail for that frame, and finally reduce unnecessary file weight.
Treat the cover and inline product images as different assets
The cover introduces the subject in the article and archive. An inline photograph explains a specific detail, such as a seam, label, or product dimension. They do not need identical proportions. A tall care-label photograph can be useful inside the article even when the cover is landscape.
For a cover, keep important objects away from the outer edges so a modest crop does not remove the subject. For an instructional image, prioritize legibility and accuracy. If the picture contains essential instructions, ensure the article also explains them in text.
Shopify’s post management guide distinguishes the post image from media inserted into the article body. Check both placements when reviewing the page; replacing one does not establish that the other has changed.
Export once, inspect closely, then test the storefront
- Open the article and blog archive, and note their image shapes at desktop and phone widths.
- Crop the original to the intended composition. Keep the main product or subject visible in both placements.
- Export a suitable web format and compare the compressed file with the original at its expected display size.
- Upload the image, preview the post, and inspect the actual storefront rather than only the media library.
- Check the archive card, article header, and any inline images on a phone before publishing.
For our planter example, the first preview might reveal that the blog card cuts off the saucer while the article header looks fine. Recompose with more space below the product, or review the theme’s crop behavior. Enlarging the same composition simply gives you a larger version of the problem.
Finish with a descriptive filename and useful alt text
Name the file after what it shows, such as ‘ceramic-planter-drainage-detail,’ rather than an unexplained export ID. Write alt text for the actual image in context: ‘Drainage hole in the base of the ceramic planter’ is more useful than a list of shopping keywords. Google’s image guidance covers descriptive filenames and contextual alt text.
Keep product accuracy in the review. An attractive generated illustration can introduce the subject, but it should not be presented as a photograph of a product feature it cannot verify. Use real reference material when the article depends on the precise appearance of an item.
Record the chosen export preset and reference material in the content writing brief. The blog post checklist then gives the reviewer a place to confirm that the image, links, and publishing fields survived the final delivery.
Common questions
Is 1200 × 800 required for every Shopify blog?
It is Shopify’s general blog-header recommendation in its website image guide. Check your theme’s actual aspect ratio, display width, and archive crop before treating it as a fixed preset.
Why is the image sharp in the post but cropped in the blog feed?
Those placements can use different frames. Inspect both, leave room around the important subject, and review the theme’s image settings when the composition still does not fit.
Should every image use the target keyword as alt text?
Describe what the image shows and why it matters in context. A product-detail photograph and a decorative cover have different jobs. Repeating the target phrase without describing the image does not make the alternative text useful.
Sources & further reading
Platform details checked against these primary sources. Store examples in this guide are illustrative.
Research. Write. Review. Publish.